Google Antigravity 2.0 Tutorial: The Complete Guide to the Best AI Coding Assistant
Learn how to use Google Antigravity 2.0, the best autonomous AI coding agent by Google DeepMind. Follow this step-by-step tutorial to configure its API keys, master slash commands like /goal and /schedule, and orchestrate developer subagents.
Google Antigravity 2.0 Tutorial: The Complete Guide to the Best AI Coding Assistant

Autonomous AI coding agents have progressed rapidly from mere autocompletion models to fully autonomous software developers. Among these next-generation systems, Google Antigravity 2.0—developed by the Google DeepMind team—stands out as the best AI coding assistant on the market.
Unlike standard chatbots that only suggest code snippets, the Antigravity AI agent operates directly on your local files, plans complex architectural migrations, compiles code, runs tests, and fixes its own bugs.
In this comprehensive Google Antigravity 2.0 tutorial, we will take you step-by-step through installing, configuring, and mastering this advanced autonomous AI developer in your daily programming workflow.
🛠️ Step 1: Installation & API Key Setup
Getting started with the DeepMind coding assistant is straightforward. It runs as a CLI tool directly on your terminal.
1. Prerequisites
Before setting up the agent, ensure you have the following installed locally:
- Node.js (v18 or higher)
- Git (for version tracking and repository mapping)
- Python 3.10+ (highly recommended for running custom verification scripts)
2. Global Installation
To install the official Google Antigravity CLI tool, run:
npm install -g @google/antigravity
3. Configure API Keys (Authentication)
The reasoning core of this AI agentic coding assistant requires API authentication. Export your credentials in your shell profile (e.g., .zshrc or .bashrc):
# Core Antigravity Reasoning engine key
export ANTIGRAVITY_API_KEY="ag-live-xxxx..."

# Optional keys if you run subagents or call third-party search APIs:
export ANTHROPIC_API_KEY="sk-ant-xxxx..."
export OPENAI_API_KEY="sk-proj-xxxx..."
🌀 Step 2: Understanding the Agentic Workflow Architecture
To get the most out of Antigravity AI, it is crucial to understand how it handles codebase modifications. Instead of applying edits blindly, it uses a highly structured, self-verifying loop:
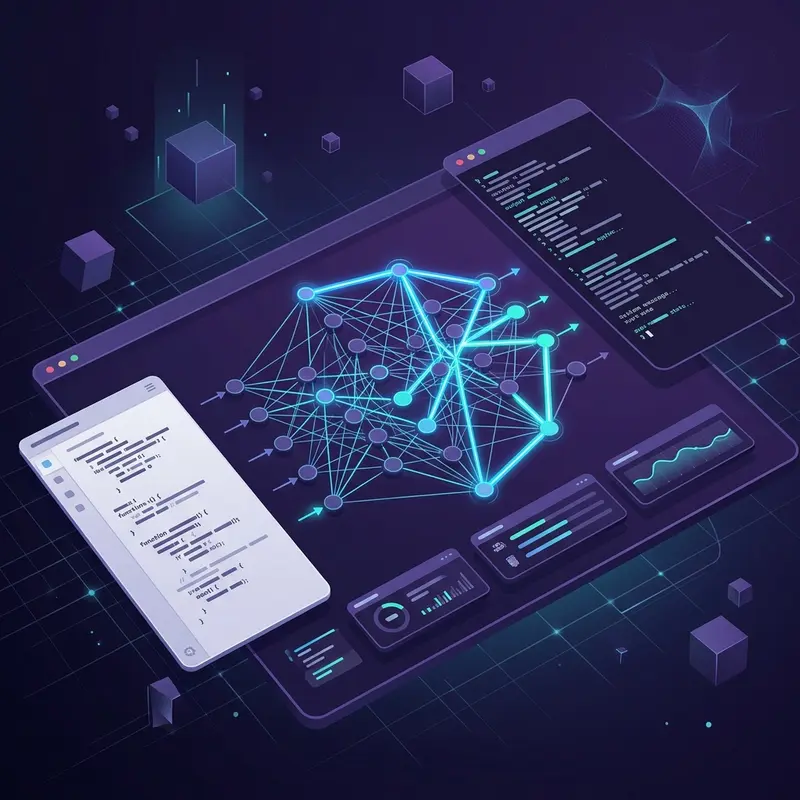
- Research & Map: Reads imports, navigates directories, and runs
grepqueries to map dependencies. - Plan: Writes an
implementation_plan.mddetail sheet and pauses for developer approval. - Execute: Uses a surgical diff engine to rewrite code chunks, tracking status in
task.md. - Verify: Runs compilers, unit tests, and lint checkers. Generates a final
walkthrough.mdreport.
💻 Step 3: Running Your First Autonomous Coding Session
Let's walk through a real-world task: converting a React navigation menu to use Next.js client-side hooks dynamically.
1. Launch the Agent
Navigate to your project root in your terminal and start Antigravity:
antigravity dev ./
2. Enter Your Prompt
In the command-line interface, input your goal:
"Refactor the Header component in src/components/header.tsx. Instead of using a local useState hook for active links, use the usePathname hook from next/navigation so the links highlight correctly on route changes."
📋 Step 4: The Developer-in-the-Loop Review System
One of the reasons Antigravity 2.0 is hailed as the best AI coding assistant is its developer-in-the-loop safety model. You are always in control of what code gets changed.
A. Reviewing the Implementation Plan
The agent analyzes header.tsx and drafts a detailed plan in your app data directory:
[!IMPORTANT] Implementation Plan Generated (Awaiting Developer Approval)
- Modified File:
src/components/header.tsx- Design Decision: Swap
useStateactive navigation logic for Next.js App RouterusePathname().- Risk Assessment: None. Safe local refactoring.
Type "y" or "approve" to authorize the edits.
B. Monitoring Progress via task.md
Upon approval, the agent generates a living checklist task.md:
- [x] Research file imports and hooks
- [/] Replace active state with usePathname hook
- [ ] Add 'use client' directive if missing
- [ ] Verify build and run unit tests
The agent updates the status to [x] as it completes each sub-task.
C. Precision Diff Replacements
The agent avoids rewriting entire files. Instead, it locates exact code chunks and performs a surgical drop-in replacement:
<<<< TARGET CONTENT
export function Header() {
  const [activeTab, setActiveTab] = useState('/')
==== REPLACEMENT CONTENT
"use client";

import { usePathname } from 'next/navigation';

export function Header() {
  const pathname = usePathname();
>>>>
D. Verification and Walkthrough
Once the code has been updated, Antigravity triggers your test framework:
npm run test:unit
If tests succeed, it deletes the planning templates and generates a walkthrough.md summarizing the changes, making it easy to review before committing.
🚀 Step 5: Advanced Slash Commands Reference
To fully master this autonomous AI developer, you must know how to utilize its advanced slash commands.
1. /goal (End-to-End Autonomous Resolution)
Use /goal when you want the agent to resolve a massive, multi-step engineering task autonomously.
- Usage:
/goal "Convert all React components in src/components/ui/ to TypeScript" - How it works:
The agent will find all
.jsxfiles, convert them to.tsx, write typescript interfaces, runtsc --noEmit, identify compilation errors, fix those errors, and re-run compilation repeatedly until the build succeeds with zero errors.
2. /schedule (Cron Jobs and Automation)
You can schedule the agent to run periodic codebase audits, bundle checks, or automated lint checks:
- Format:
/schedule --cron "CRON_EXPRESSION" --prompt "INSTRUCTION" - Example (Run lint check every weekday morning at 9:00 AM):
/schedule --cron "0 9 * * 1-5" --prompt "Run npm run lint and report errors to task.md"
3. /browser (Visual Testing & E2E Auditing)
Launches a headless Playwright browser to test DOM interaction, page loading speeds, or visual contrast.
- Example:
/browser --url "http://localhost:3000" --action "Open login modal, fill email input, click submit, check error border"
🤖 Step 6: Multi-Agent Orchestration & Subagent Delegation
Large codebase changes can bloat the LLM's context window. Antigravity 2.0 solves this by allowing you to delegate tasks to background subagents.
1. Define a Subagent
The main agent can instantiate customized subagents with specific system prompts:
await define_subagent({
  name: "DBAuditor",
  description: "Specialized database index auditor",
  system_prompt: "You are a senior PostgreSQL DBA. Examine files and optimize indexes.",
  enable_write_tools: true,
  enable_mcp_tools: false
});
2. Invoke the Subagent
Launch the subagent in an isolated branch to work concurrently:
await invoke_subagent({
  Subagents: [
    {
      TypeName: "DBAuditor",
      Role: "Schema Auditor",
      Prompt: "Verify foreign key performance in schema.sql and create indexes",
      Workspace: "branch" // Creates an isolated Git branch
    }
  ]
});
The subagents work in the background without locking your terminal, reporting progress using the send_message tool.
🛡️ Step 7: Zero-Trust Security Gating
Because Antigravity can execute terminal commands, Google DeepMind has built a robust Permission Shield directly into the agent.
[!WARNING] By default, Antigravity operates on a zero-trust security model for filesystem writes and execution commands.
- Read Files: Allowed inside the workspace directory. Restricted outside the project directory.
- Terminal Command Execution: Generates an approval request. Commands like
rm -rfor network requests (likecurl) require explicit, manual confirmation from you. - Network Actions: Blocked unless you explicitly whitelist the target domain (e.g.,
github.comornpmjs.com).
🏁 Conclusion: Level Up Your Coding with Antigravity AI
By adopting the structured Research -> Plan -> Execute -> Verify model, Google Antigravity 2.0 turns AI-assisted coding into a collaborative, automated, and secure partnership. It is the ultimate tool for developers looking to boost their productivity and automate complex refactoring workflows.
Ready to see how Google Antigravity fits into your project workspace? Visit our Google Antigravity Tool Page to learn more about its commands, features, pricing, and integration steps!
Related Content
Articles
Google Antigravity 2.0: The Ultimate Autonomous AI Coding Agent by Google DeepMind
Discover Google Antigravity 2.0, the best autonomous AI coding agent and developer assistant from Google DeepMind. Explore its features, architecture, and why it is the top Cursor and Claude Code alternative for professional software engineering.
Read moreGemini 3.5 Flash: The Price Butcher of AI Coding Disrupted Pro Models
Discover how Gemini 3.5 Flash outshines Claude Opus and GPT-5.5 on coding agent benchmarks at a fraction of the cost, starting a new era of AI pricing war.
Read moreGoogle Antigravity CLI vs. IDE: The Definitive Usage Guide
Master the differences between Google Antigravity CLI agent and Antigravity IDE. Learn when to use each with step-by-step tutorials and real-world scenarios.
Read moreRelated Tools
Google Antigravity
Advanced agentic AI coding assistant designed by Google DeepMind for autonomous software development and pair programming.
View toolBlackboxai
Multi-format code extraction and generation tool that surfaces relevant snippets from 100M+ open-source repositories across 20+ languages.
View toolchatgpt
Conversational AI assistant by OpenAI for real-time code generation, debugging, and technical problem-solving through natural language interaction.
View toolRelated Workflows
AI-Powered Code Review Workflow
Use AI tools to automate and improve your code review process
View workflowBuilding with MCP: Server Development Workflow
Step-by-step workflow for creating and deploying MCP servers
View workflowChatGPT Prompt Engineering Workflow
Master prompt engineering techniques to get the best results from ChatGPT
View workflow